
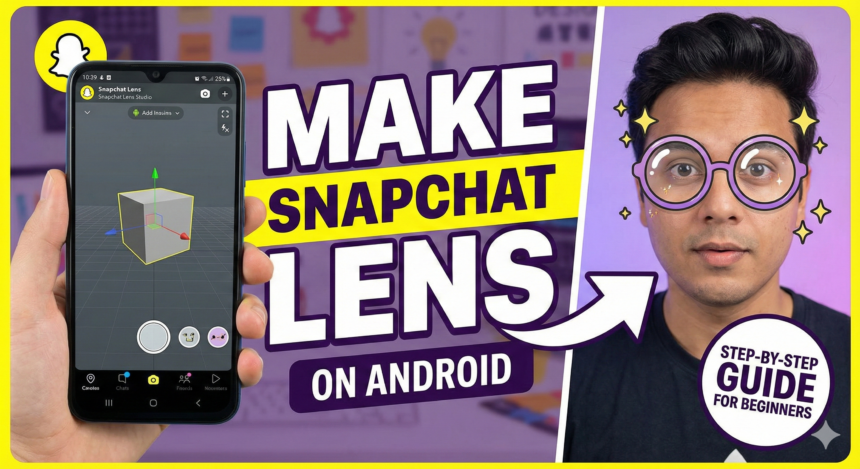
Creating your own Snapchat Lens is one of the easiest ways to stand out on the platform. Whether you want to build filters for fun, for your brand, or for viral content, Android users can now create lenses directly from their mobile device. This guide explains everything you need to know to make a Snapchat lens on Android, from setup to publishing.
What Is a Snapchat Lens?
A Snapchat Lens is an augmented reality (AR) effect that reacts to your face, body, or surroundings. Lenses use 3D objects, animations, face masks, beauty filters, and background effects to create interactive AR experiences.
Originally, lens creation required a computer, but Snapchat now allows Android users to design simple to advanced lenses using mobile-friendly tools.
How to Make a Snapchat Lens on Android Mobile
Follow these steps to create your own Snapchat Lens directly from your Android phone.
1. Install Snapchat and Open Lens Explorer
- Download the Snapchat app from the Play Store.
- Log in to your account.
- Tap the smiley icon next to the capture button.
- Scroll down and select “Create” or “Lens Creator Options”.
This opens the lens creation tools available on Android.
2. Choose a Lens Template
Snapchat provides ready-made templates such as:
- Face mask templates
- Beauty and glow filters
- Background replacement effects
- 3D object lenses
- AR character lenses
- Seasonal and trending templates
Choose the template that matches the style you want.
3. Add Filters, Effects, and AR Elements
On Android, you can add:
- Face effects
- Skin glow and beautification
- 3D stickers
- Animated objects
- Text overlays
- Background colors or images
- Music or sound effects
Each element is fully customizable.
4. Adjust Lens Settings
Snapchat allows you to modify:
- Trigger actions (blink, mouth open, tap)
- Animation speed
- Object size and rotation
- Filter intensity
- Face tracking and background tracking
Fine-tune the lens until it looks professional.
5. Preview Your Lens
Use your phone’s camera to preview how the lens reacts:
- Try smiling, blinking, raising eyebrows
- Check background effects
- Look for alignment issues
- Test animations smoothly
Make sure everything works on your face before publishing.
6. Publish the Lens
- Tap “Publish”
- Enter a lens name
- Add tags for discoverability
- Upload a lens icon
- Set the audience (public or private)
Snapchat then generates a unique Snapcode you can share anywhere.
7. Share Your Lens
You can share your lens:
- On your Snapchat Story
- With friends
- On social media pages
- Inside your website or blog
- Through your Snapcode
The more people use it, the faster your lens can become popular.
Key Facts and Summary Table
| Feature | Details |
|---|---|
| Device Required | Any Android smartphone |
| Apps Needed | Snapchat app |
| Time Required | 2 to 10 minutes |
| Difficulty Level | Beginner-friendly |
| Tools Available | Filters, AR objects, templates, animations |
| Publishing | Directly inside Snapchat |
| Cost | Free |
Why Create Lenses on Android?
- No laptop or computer required
- Quick and easy to design
- Free to publish
- Boosts engagement and creativity
- Useful for influencers, businesses, and creators
SEO Optimized FAQs
1. Can I create a Snapchat Lens on Android without Lens Studio?
Yes. Snapchat allows mobile lens creation directly inside the app using built-in templates.
2. Is making a Snapchat Lens free on Android?
Yes, all lens creation tools inside Snapchat are free to use.
3. Do I need technical skills to make a lens?
No. Android lens creation uses simple drag-and-drop features suitable for beginners.
4. Can I publish lenses made from Android?
Yes. You can publish the lens, name it, add tags, and get a Snapcode instantly.
5. Can I make advanced Snapchat lenses on mobile?
Mobile tools support many features, but advanced 3D AR lenses still require the Lens Studio PC software.